

Picture this: you're navigating a crowded airport, one hand wrestling a bulky camera bag off your shoulder while the other tries to keep a separate laptop case from sliding away. It’s a stressful, clumsy dance that anyone who travels with gear knows far too well. This is exactly why camera laptop backpacks have become the gold standard, combining fortress-like protection for your creative tools with the grab-and-go mobility needed for modern travel.
The Smart Shift to a Single, Secure Pack
Let’s be honest, the days of juggling multiple single-purpose bags are thankfully behind us. For photographers, filmmakers, and anyone working on the road, efficiency is everything. A purpose-built camera laptop backpack isn't just a bag; it's a fundamental change in how we travel, consolidating thousands of dollars worth of fragile equipment into one organized, secure carry-on.
Think of it as the difference between a messy toolbox with tools scattered everywhere and a perfectly organized mobile workstation. Instead of one bag for your lenses and camera bodies and another for your laptop and chargers, everything lives together in one smart, cohesive unit. This all-in-one philosophy brings some serious advantages for any traveler with a camera and a computer.
Uniting Your Camera Gear and Your Office
The real magic of a great camera laptop backpack is how it serves two very different, yet equally critical, needs at the same time. These bags are engineered from the ground up to protect both your fragile camera equipment and your essential digital hub.
- Purpose-Built Protection: Your cameras and lenses are cradled in specialized padded compartments, while your laptop sits safely in a suspended sleeve, isolating it from accidental drops and impacts.
- Split-Second Access: A good design means you can grab your camera instantly for a fleeting shot, and just as easily pull out your laptop for airport security or a quick editing session.
- Simplified Security: Keeping all your valuable gear in one bag means there's less to keep track of. This drastically reduces the risk of leaving a critical piece of kit behind or making yourself an easy target for theft.
A great camera laptop backpack is more than just a bag—it's an efficiency tool. It lets you move from shooting on location, to editing in a café, to catching a flight without ever having to repack or rethink your setup.
This move to a unified system is a direct result of what modern creative travelers actually need. You no longer have to make the painful choice between bringing your best gear and traveling light. With the right backpack, you can do both, ensuring you’re always ready for the perfect shot or an urgent deadline, no matter where in the world you are.
Decoding the Anatomy of the Perfect Travel Backpack
So, what really separates a decent camera and laptop backpack from one you'll trust with thousands of dollars of gear? It all comes down to its anatomy—the thoughtful design choices that protect your equipment, make your life easier on the road, and help you get the shot. Getting to know these core features is the first step toward finding a bag that feels less like a piece of luggage and more like a reliable travel partner.
For anyone who’s ever juggled a separate camera bag and laptop case through an airport, the move to an all-in-one system is a game-changer. This image perfectly captures the difference between that old, clumsy approach and the streamlined efficiency of a modern travel backpack.
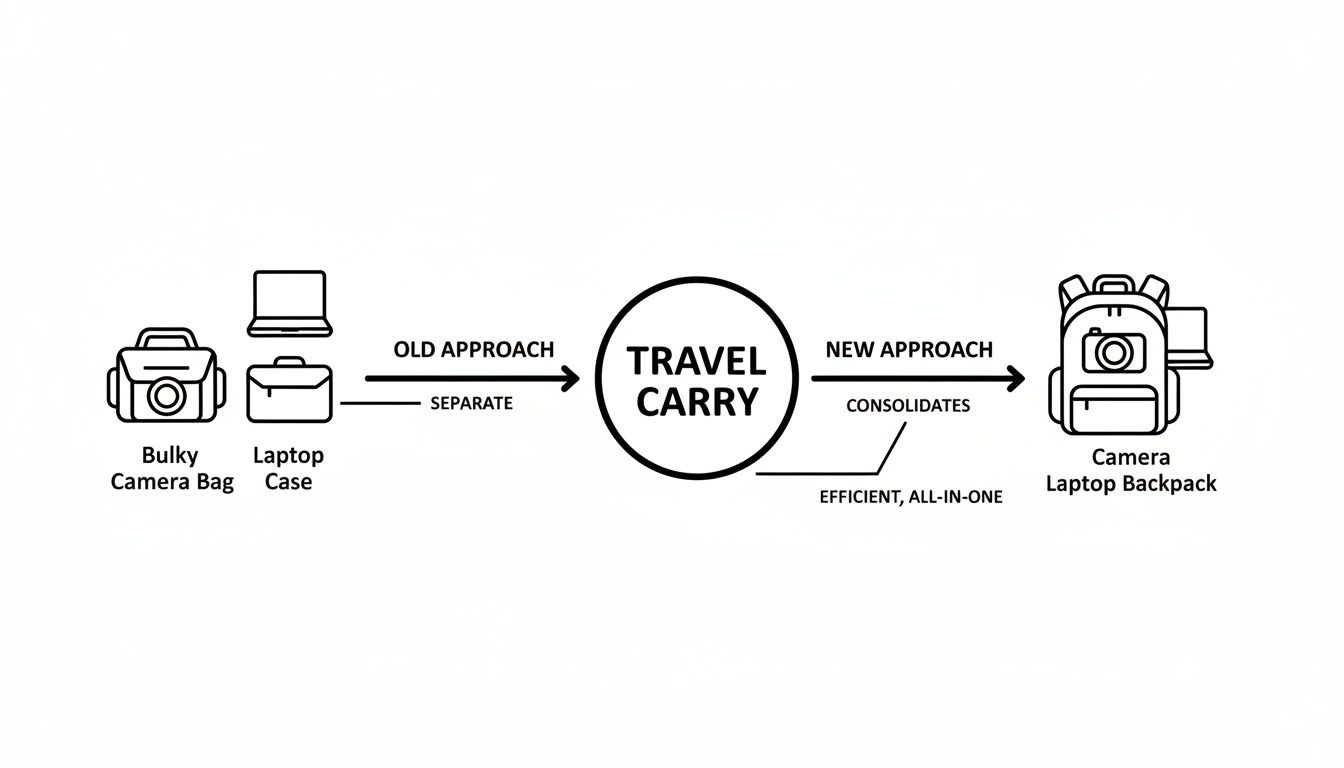
As you can see, it’s about more than just convenience. A well-designed pack consolidates your life, reduces travel stress, and gives you the mobility to navigate a new city or a crowded terminal with ease.
The Heart of Protection: Customizable Dividers
The soul of any good camera backpack is the main compartment, and specifically, its customizable padded dividers. Think of these as a personal security detail for your camera bodies and lenses. They aren't just flimsy foam inserts; they're a robust system of hook-and-loop panels that let you create perfectly sized, snug compartments for every piece of your kit.
This modular design is absolutely critical. A well-organized interior prevents your gear from knocking against each other during a bumpy bus ride or a turbulent flight—which is how most damage happens. One day you can set it up for a full-frame DSLR with a 70-200mm lens attached, and the next, reconfigure it entirely for a compact mirrorless body and a handful of prime lenses.
The ability to tailor the internal layout to your specific kit for each trip is non-negotiable. It ensures maximum protection and eliminates wasted space, making your pack both safer and more efficient.
This need for specialized bags hasn't gone unnoticed. Just a decade ago, these hybrid packs were a niche item. Now, camera laptop backpacks are a go-to for an estimated 70% of traveling photographers, a huge shift driven by the rise of content creation and social media. The global backpack market, valued at USD 15.494 billion in 2021, is expected to explode to USD 41.396 billion by 2033, with these purpose-built bags leading the charge.
The Laptop Sleeve: A Suspended Safe Zone
While the main compartment cradles your camera, the laptop sleeve is your computer’s dedicated safe house. Here's a major red flag to watch for: a sleeve that allows your laptop to sit directly on the bottom of the bag. If you set your pack down too hard, that impact travels right into the edge of your device.
What you want is a suspended and padded laptop sleeve. This design feature elevates your laptop slightly, creating a crucial buffer zone between its edge and the floor. When the backpack is dropped or set down with a thud, that empty space absorbs the shock. It's a simple, brilliant feature that can be the difference between a close call and a very expensive trip to the repair shop. To learn more about features that keep your tech safe, check out our guide on the best laptop bag for travel.
Access Points: Your Gateway to the Shot
How you get to your gear is just as important as how you store it. The access style of a backpack directly affects your speed, workflow, and security. Choosing the right one is all about matching the bag's design to your personal travel and shooting style.
The table below breaks down the most common access styles, helping you decide which one fits your needs—whether your priority is security in a crowded market or lightning-fast access to capture a fleeting moment.
Backpack Access Style Comparison
| Access Style | Best For | Pros | Cons |
|---|---|---|---|
| Rear Access | Security-conscious travel in cities, public transit | Extremely theft-resistant as zippers are against your back. Forces you to set the bag down to pack, promoting organization. | Slower to access gear. You must take the bag off completely to get to the main compartment. |
| Side Access | Street, event, and wildlife photography | Very fast. Allows you to grab your camera without taking the bag off—just swing it forward on one shoulder. | The opening can be a security risk in crowds. Limited to accessing just one camera body or lens quickly. |
| Top/Front Access | Easy packing and general organization | Offers a wide, clear view of all your gear, much like a traditional suitcase or backpack. Simple and familiar. | Least secure option for the main compartment. Gear can be exposed when accessing other pockets on the front. |
Ultimately, many of the best bags offer a hybrid approach, combining the security of rear access with the speed of a side hatch or the organizational ease of a front panel. This gives you the best of all worlds, adapting to wherever your travels take you.
4. Navigating Airline Carry-On Rules with Your Gear
We've all felt that little jolt of anxiety walking up to the boarding gate. You glance down at your fully loaded camera backpack, then at the gate agent, and wonder, "Is this the time they make me check it?" The thought of handing over a bag filled with thousands of dollars in fragile electronics is enough to make any traveler sweat.
Thankfully, you can walk that jet bridge with confidence. It all comes down to understanding the two things airlines care about: dimensions and weight. While weight limits can be all over the map, the rules for size are surprisingly consistent, giving us a "safe zone" to aim for.
Making Sense of Carry-On Size Standards
For the vast majority of airlines, both here and abroad, the magic number is 22 x 14 x 9 inches (or 56 x 36 x 23 cm). This isn't just the bag itself; it's the total space it occupies, including wheels, handles, and any pockets you've stuffed to the gills. A good travel-focused camera backpack is almost always designed to fit neatly within these specs, if you don't overpack it.
Here’s a crucial tip: measure your bag after you've packed for a trip. The dimensions on the tag are for an empty bag, which is pretty useless. Lay your packed bag on its back and get real-world height, width, and depth measurements with a tape measure. That's the number that matters when you're faced with that unforgiving metal sizer at the gate.
What Does "Liter" Capacity Actually Tell You?
You’ll see backpack capacity measured in liters (L), which is just a way of describing its total internal volume. While the airlines don't use this metric, it's an incredibly useful shorthand for us travelers to gauge if a bag will fly.
- 20-35 Liters: This is your safe zone. Bags in this range are almost always compliant, and some might even squeeze by as a "personal item" if they aren't packed too thick.
- 35-45 Liters: This is the sweet spot for maximizing your carry-on allowance. Most bags in this category are built specifically to hit that 22x14x9 inch limit without going over.
- 50+ Liters: Tread carefully. Bags this large are almost guaranteed to be too big for the overhead bin and are really designed to be checked.
A bag advertised as a "45L carry-on" can easily become an oversized-bag-fee-waiting-to-happen if you cram every last pocket full. Think of the liter rating as a guideline, not a guarantee. How you pack determines the final size.
Pro Tips for Staying Carry-On Compliant
Even with the perfect bag, a sloppy packing job can get you flagged. The goal is to keep your backpack looking as slim and unobtrusive as possible, so it doesn't draw any unwanted attention.
1. Use Your Compression Straps: Those straps on the sides of your bag aren't just for show. Once you're all packed, cinch them down tight. This squeezes out excess air and can easily shave an inch or two off the bag's depth, which can be the difference between sliding into the sizer and getting turned away.
2. Avoid the "Turtle Shell" Effect: We all know the look—a backpack with a front pocket bulging out like it's about to burst. This is a fast track to failing the depth check. Keep your flatter items like documents, a tablet, or a notebook in those front pockets.
3. Leverage Your Personal Item: Don't forget that most airlines let you bring one main carry-on and a smaller personal item that fits under the seat. A camera backpack will almost always count as your main carry-on. You can find more great advice on this strategy in our post on how to pack for carry-on only travel in our comprehensive guide.
By keeping these rules in mind and packing smart, you can make sure your valuable gear stays safely with you in the cabin, right where it belongs.
Choosing Materials for Durability and Weather Protection
Think of your camera backpack not just as a bag, but as a portable vault for your most valuable creative tools. When you're thousands of miles from home, you need to know, without a doubt, that your gear is protected. The bag’s materials are your first line of defense against everything from rough airport handling to a sudden downpour, so let's break down what really makes a backpack tough.
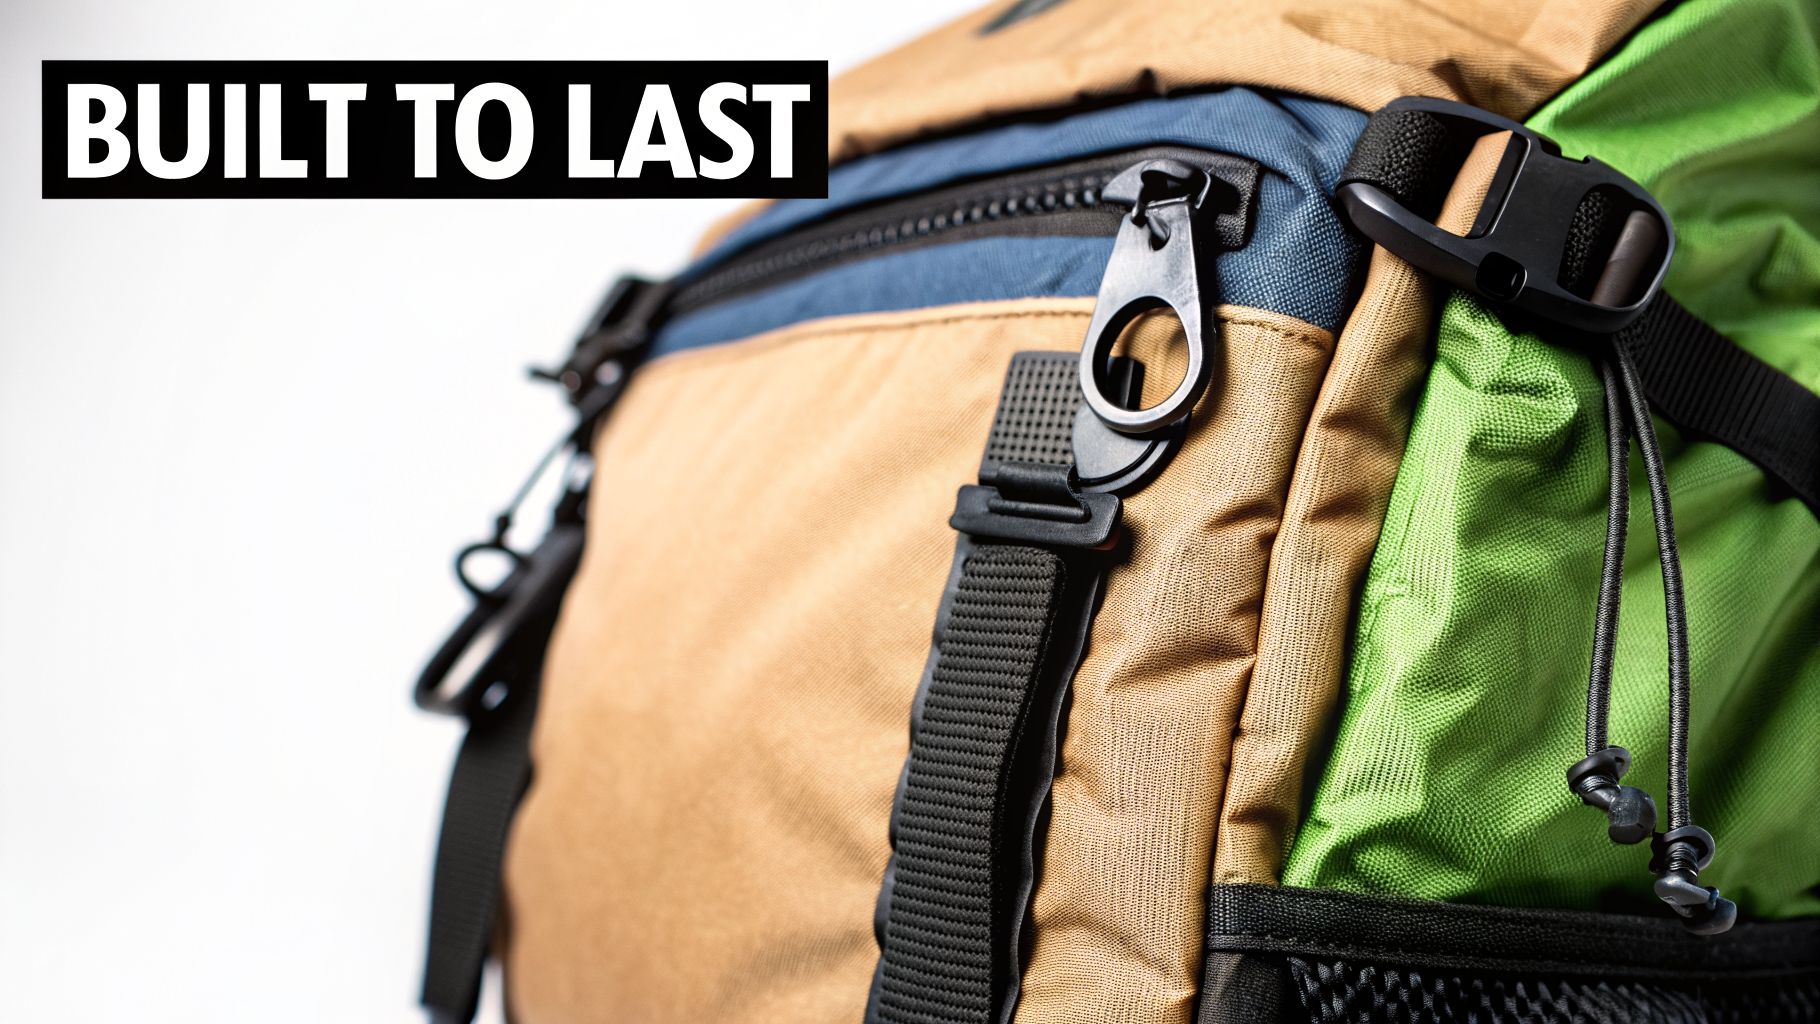
I like to think of backpack fabric as armor. Just as armor is rated for its ability to withstand different threats, fabrics are measured by their toughness. You’ll often see terms like ballistic nylon and Cordura thrown around. These aren't just marketing fluff; they're high-performance textiles engineered for serious abuse.
Understanding Fabric Strength and Denier
When you look at spec sheets, you'll see a number followed by a "D," like 840D or 1680D. This is the fabric's denier, which is simply a measure of the thread's thickness. A higher number generally means a thicker, heavier, and more abrasion-resistant fabric.
- Standard Polyester/Nylon (200D - 600D): You'll find this on most budget-friendly backpacks. It's lightweight, but it won't offer much protection if you scrape it against a brick wall.
- High-Tenacity Nylon (420D - 1000D): This is the sweet spot for a lot of premium travel and camera bags. It strikes a fantastic balance between durability and weight, easily handling the rigors of frequent travel.
- Ballistic Nylon & Cordura (1000D+): This is the heavy-duty stuff, originally developed for military flak jackets to stop shrapnel. These fabrics are incredibly resistant to punctures and tears, making them perfect for rugged adventures where your bag might get dragged around.
Now, more denier means more weight. The smartest bag designs use a hybrid approach. They’ll put ultra-tough 1680D ballistic nylon on the base of the bag—the part that gets scraped on the ground—while using a lighter (but still strong) 420D nylon for the rest of the body to keep the overall pack weight down. It’s all about putting strength where it counts.
Weatherproofing Your Gear From Drizzle to Downpour
Of course, a tough bag also has to be a dry bag. A surprise cloudburst can be catastrophic for your electronics, so solid weather protection is completely non-negotiable. This is usually handled with a one-two punch.
First is a Durable Water Repellent (DWR) coating. This is a finish applied to the outside of the fabric that makes water bead up and roll right off, kind of like wax on a car's paint job. A good DWR finish is great for shrugging off light drizzle or a spilled coffee. But in a real downpour, that coating will eventually get saturated.
That’s why the gold standard for weather protection is a dedicated, seam-sealed rain cover. This is a totally separate waterproof shroud that you pull over the entire backpack, creating an impenetrable shield against even the heaviest, most relentless rain. Always look for bags that come with an integrated rain cover, usually tucked into its own little pocket for fast access when you need it.
Security Features That Create a Personal Fortress
Beyond fighting off scuffs and storms, a great travel backpack should give you peace of mind. When you're navigating a crowded market or squeezing onto a train, your bag can look like an easy target. Smart security features turn it from a liability into a personal fortress.
Here are the key things to look for:
- Lockable Zippers: The zipper pulls for the main and laptop compartments should have interlocking loops that let you secure them with a small TSA-approved padlock. It’s a simple but effective deterrent.
- Hidden Pockets: I love bags with discreet pockets hidden in the back panel or under a strap. They’re the perfect spot to stash your passport, extra cash, or spare memory cards away from prying eyes.
- RFID-Blocking Pockets: These specialized pockets are lined with a material that blocks radio signals. This prevents thieves from using scanners to electronically skim your credit card and passport information.
This combination of durability and security is exactly what travelers are demanding. The camera bag market is projected to more than double to USD 4.05 billion by 2035, and it's these versatile, travel-focused backpacks that are driving the growth. You can read more about the evolving camera bag market trends to see how these innovations are shaping modern designs. Choosing a bag with these features means you can stop worrying about your gear and focus on the adventure in front of you.
Let's be honest—a poorly designed backpack can absolutely ruin a trip. The difference between showing up to a shoot feeling fresh and arriving with an aching back and sore shoulders often boils down to one thing: ergonomics. This isn't just about throwing some soft padding on the straps; it's a science of how the bag moves with your body to make heavy loads feel lighter.
Think about it. Carrying a dense pack full of glass and metal just on your shoulders is like trying to lift a heavy cooler with only your arms. You'll be shaking in minutes. A great ergonomic system, on the other hand, borrows its design from serious hiking packs, cleverly shifting that weight off your fragile shoulders and onto your powerful hips and core.
The Suspension System Your Shoulders Will Thank You For
When we talk about backpack comfort, we're really talking about its "suspension system"—the whole network of straps and panels that connects the pack to your body. This system is single-handedly the most important factor for all-day comfort. Without a good one, even the most organized bag will feel like a sack of bricks after just an hour.
Here’s how the three main parts work together:
-
Padded Shoulder Straps: These are the first thing you notice, but they shouldn't be doing all the work. Good straps are wide, anatomically curved, and packed with dense foam that won’t compress to nothing. Their real job is to keep the pack snug and stable against your upper back, not to bear the entire load.
-
Adjustable Sternum Strap: That small strap connecting the two shoulder straps across your chest? It’s a game-changer. By clipping it, you pull the main straps inward, keeping them from slipping off your shoulders. This simple action distributes the load more comfortably across your chest and takes a huge amount of strain off your neck and shoulders.
-
Load-Bearing Hip Belt: For anyone carrying serious camera gear, this is the hero. A properly padded hip belt should sit right on your iliac crest (the top of your hip bones). Once you tighten it, the belt transfers up to 80% of the backpack’s weight directly onto your hips. This lets your legs—the strongest muscles in your body—do the heavy lifting.
A proper hip belt doesn’t just stabilize the bag; it fundamentally changes how you carry the weight. It's the difference between your shoulders screaming in protest and your body moving in balanced harmony with your gear.
Staying Cool with Ventilated Back Panels
Besides how a pack carries weight, how it feels against your back is just as critical. There's nothing worse than that sweaty, sticky feeling you get from a flat backpack pressed against you on a warm day. It's just plain miserable.
Modern designs fix this with ventilated back panels. You'll often see raised foam pods and deep air channels that create a gap between the pack and your back. That space is crucial. It lets air circulate freely, wicking away moisture and keeping you dramatically cooler and drier, whether you're hustling through a crowded airport or hiking to a remote waterfall.
For working photographers, this level of comfort is no longer a luxury—it's a requirement. Here in North America, photographers consistently rank ergonomics as a top priority. They need straps that can evenly distribute 20-30 lbs of equipment to reduce fatigue on long travel days. This is a huge leap from the clunky, hard-sided camera cases of the past to today's smart, ergonomic hybrids built for minimalist travel. If you're curious about how the industry is adapting, you can find some great insights on the camera backpack market.
Packing Strategies for the Smart and Minimalist Traveler
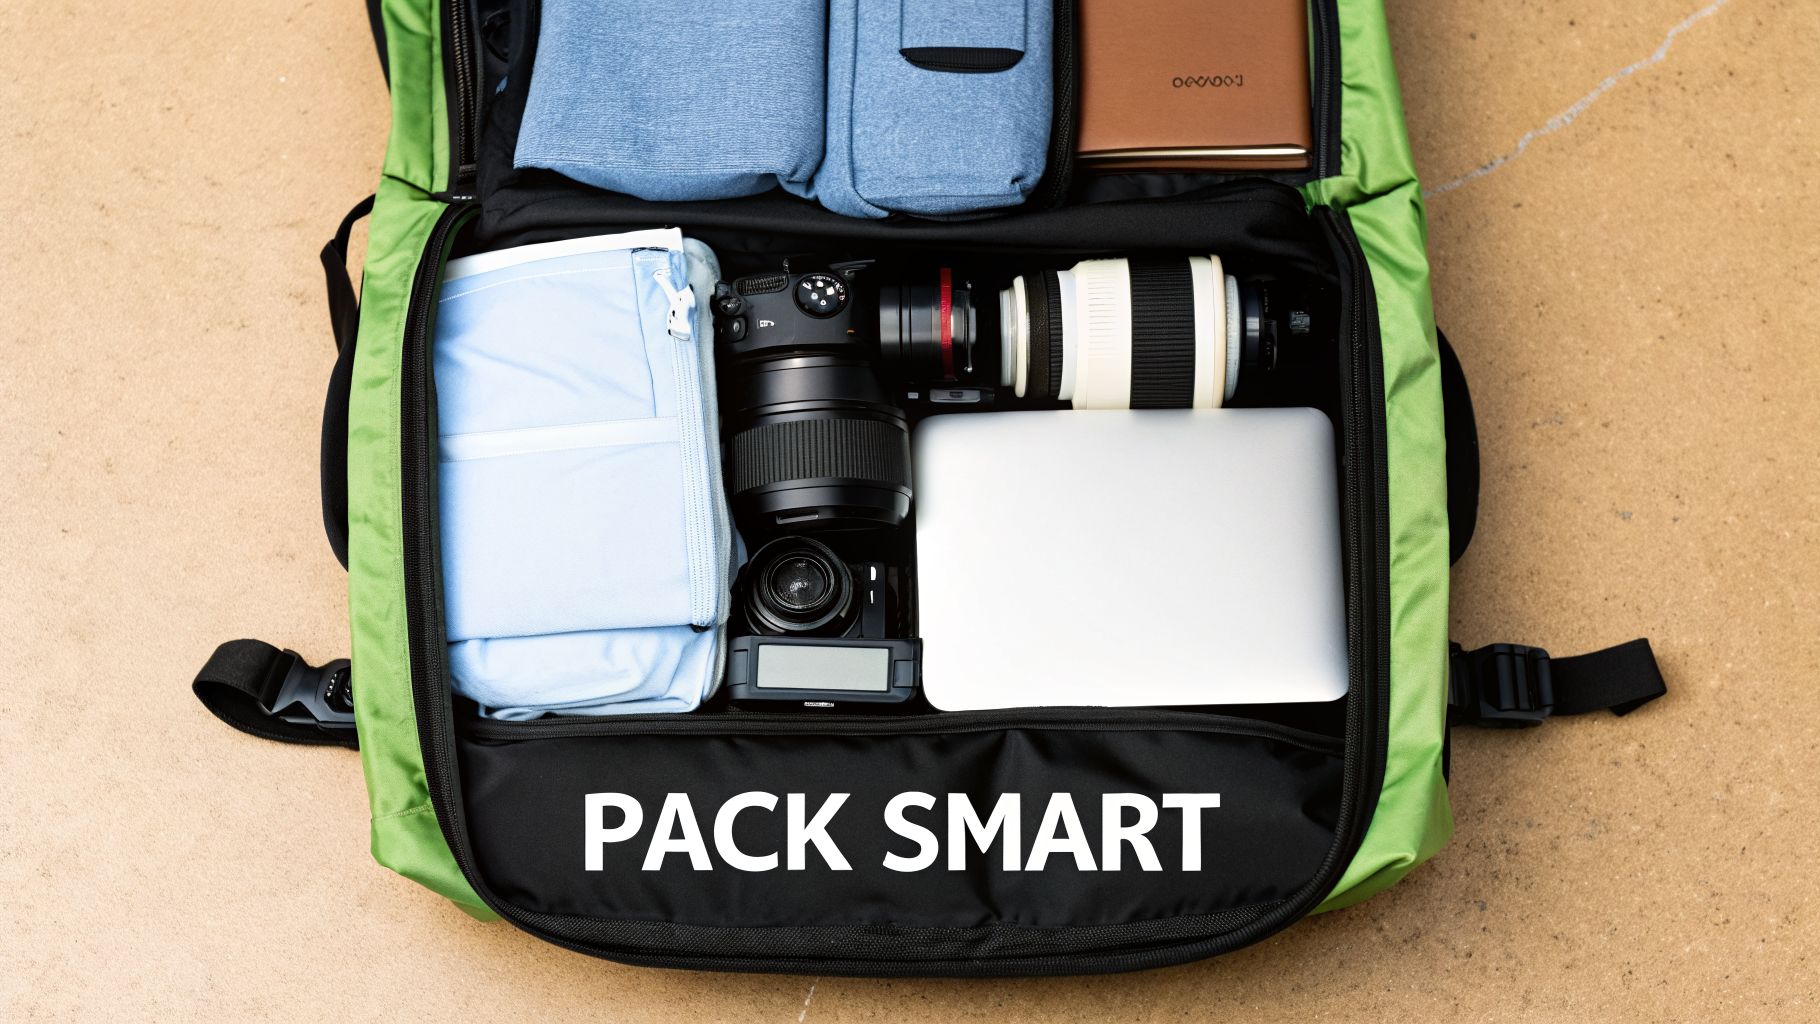
So, you’ve found the perfect camera and laptop backpack. That’s half the battle won. But the real magic happens when you pack it right—transforming it from a simple bag into a tool that makes your entire trip smoother. Smart packing isn't about cramming every last inch; it’s about a deliberate approach to organization that makes your pack balanced, comfortable, and easy to live out of.
It’s no surprise that thoughtful features like dedicated laptop sleeves and quick-access pockets are driving major growth in this space. The camera bag market was valued at USD 1,331.2 million back in 2025 and is on track to hit USD 1,626.1 million by 2032. For travelers who want to avoid the gear-chaos of a standard backpack, these designs are a game-changer. For a deeper look, you can discover the full backpack industry statistics on Rawshot.ai.
The Foundation of a Balanced Pack
The first rule of thumb for packing is dead simple: heavy items go closest to your spine. Think of it like this: your laptop, main camera body, and biggest lens are the densest things you’re carrying. By placing them flat against the back panel, you’re centering the mass over your own center of gravity.
This prevents that awful feeling of the bag pulling you backward and putting all the strain on your shoulders. Lighter, bulkier stuff like a rain shell or a spare shirt can then fill the outer spaces. It’s a simple technique that makes the load feel dramatically lighter and more stable on your back.
When you get the weight distribution right, the pack feels like an extension of your body, not a burden you're constantly fighting against. You’re not just packing; you’re setting yourself up for a more comfortable journey.
A Place for Everything and No Tangled Cables
We’ve all been there—that frustrating moment when you need a charger and have to pull out a rat’s nest of tangled cords. The best way I’ve found to beat this is to create dedicated "kits" using small pouches or tech organizers.
- Charging Kit: Keep your laptop charger, camera battery charger, and a power bank all together in one pouch.
- Cable Kit: Use a separate, smaller bag for all your USB-C, Lightning, and other random cables.
- Audio Kit: If you travel with external microphones, they deserve their own protected case along with any specific adapters.
This "pouch method" does more than just stop tangles. It means you can grab exactly what you need in seconds without tearing your entire bag apart. If you want more ideas on this, we've put together a guide on how a travel tech case can streamline your packing.
Beyond the Bag: Minimalist Apparel Choices
Truly efficient travel isn't just about what’s in your bag—it’s also about what you wear. Bulky clothing is a packing killer. A single big hoodie can take up the same amount of space as a telephoto lens or a couple of extra batteries.
This is where smart, packable layers come into play. For example, a piece of apparel like the STR-8 Jacket is specifically designed to pack down incredibly small while still offering real comfort, especially on long-haul flights. By choosing smarter clothing, you free up a surprising amount of real estate inside your backpack, making carry-on-only travel not just possible, but easy.
Your Top Questions About Camera Laptop Backpacks, Answered
Choosing the right camera backpack always brings up a few common questions. Let's tackle them one by one, drawing from years of experience, so you can feel confident you're getting the perfect bag for your travels.
Can I Just Use a Camera Insert in a Regular Backpack?
You absolutely can. Dropping a padded camera cube into a backpack you already own is a common workaround, and it's certainly easy on the wallet. It's a decent starting point for protecting your gear.
That said, you'll quickly notice the compromises. A dedicated camera and laptop backpack is designed from the ground up for this specific job. It will have a suspended laptop sleeve to absorb shock, smarter access points so you aren't digging around, and a suspension system built to comfortably carry the dense, awkward weight of camera gear. A regular bag just isn't designed for that kind of load.
Are These Backpacks Actually Waterproof?
This is a big one. Most high-quality camera backpacks are weather-resistant, not truly waterproof. Think of it like a good rain jacket—their fabric usually has a DWR (Durable Water Repellent) finish that makes water bead up and roll right off in a light shower.
For a serious downpour, you need more. The best bags come with a separate, seam-sealed rain cover you can pull over the entire pack. It’s crucial to remember that zippers are the main weak point, so never, ever submerge your backpack, even for a second.
What's the Best Size for Carry-On Travel?
For most airlines, the sweet spot for a carry-on backpack is somewhere between 30L and 40L. This size range almost always fits within the standard carry-on dimensions, which hover around 22 x 14 x 9 inches.
A bag this size is usually perfect for a complete mirrorless or DSLR kit, a 15-inch laptop, and your personal items for a weekend trip. But here's a pro tip: always check your specific airline's carry-on rules before you head to the airport. They can and do vary.
How Do I Keep My Gear Safe from Theft?
A well-designed camera bag has security features baked right into its design. Here are the three most effective things to look for:
- Rear-Only Access: This is a game-changer. The main zipper sits against your back, making it physically impossible for someone to get into your bag in a crowd without you knowing.
- Lockable Zippers: The main compartment and laptop zippers should have overlapping pulls designed to be secured with a small TSA-approved travel lock. It's a simple but powerful deterrent.
- Hidden Pockets: Look for discreet pockets, often tucked away in the back panel lumbar padding. They're the perfect spot to stash your passport, spare cash, or extra memory cards.
With the right backpack and smart packing, your gear is set. The final piece of the puzzle is your own comfort on the journey. The STR-8 Jacket is engineered specifically for travelers, providing subtle arm and shoulder support that helps make those long hours in a plane seat feel less draining. You'll arrive feeling refreshed and ready to start shooting.
Learn how to improve your in-flight comfort at str-8jacket.com.